Reading Time: 5 minutes read
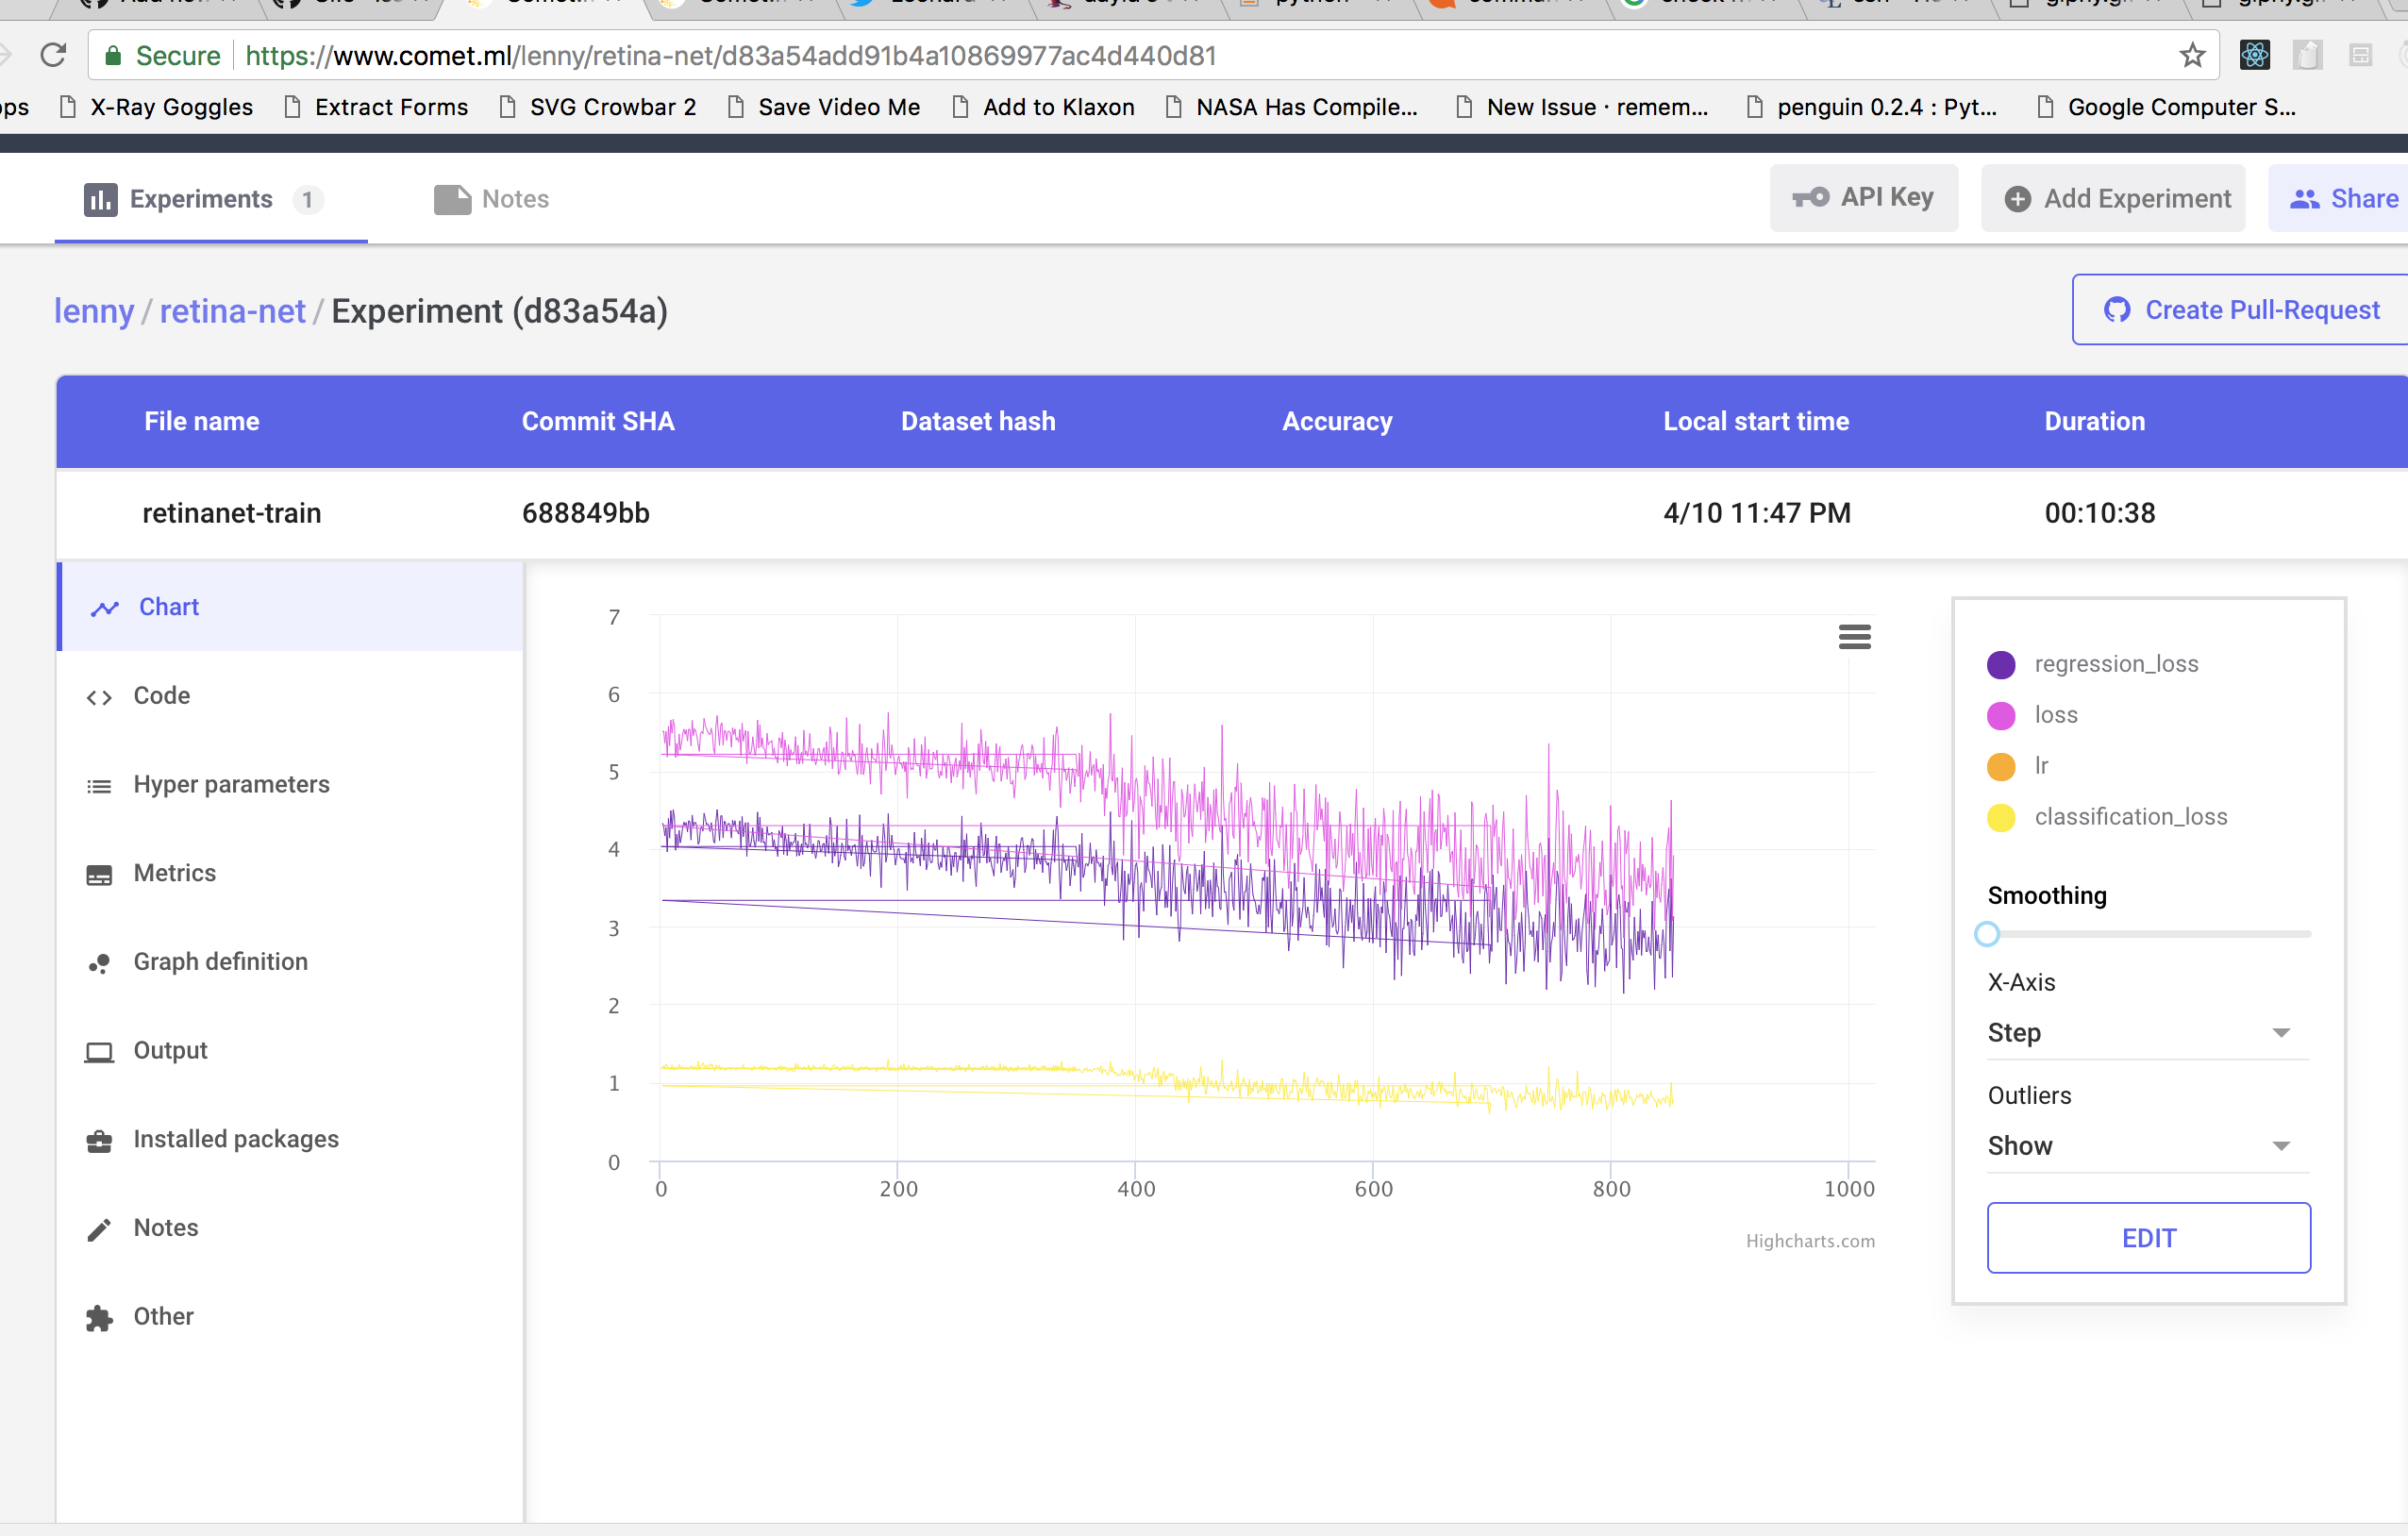
I used to work at www.comet.ml, where they are building a really amazing tool for machine learning engineers. The short of it is they help track experiments using a single line of code that automagically saves everything to make your model reproducible. You can get great experiment logging and history without being tied to a single platform.
In my own time, I decided to put @cometml to the test while training a model for logo detection, using RetinaNet.
https://twitter.com/rememberlenny/status/983897644094447617
RetinaNet is a very high quality object detector that uses the “Focal Loss for Dense Object Detection” (by Tsung-Yi Lin, Priya Goyal, Ross Girshick, Kaiming He and Piotr Dollá) paper’s method. The Keras implementation of this paper can be found here: https://github.com/fizyr/keras-retinanet
Using this repository, I augmented the train.py script and added the www.comet.ml training example code. With a single line of code, I was able to get a live view of the model’s training process, access to the Keras RetinaNet code, a snapshot of the hyperparameters I used when running the program, and the results.
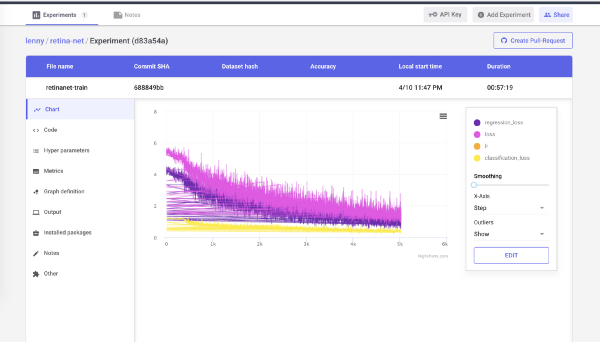
I am obviously biased because I work on this product, but I honestly have to say that I was impressed. While trying to run various training processes in the past, I repeatedly got stuck or underwhelmed by the output. With Comet.ml, I have a live interface into the training process that extends beyond the bash terminal. I do most of my development locally, but train models on a remote development machine I use. I can now train the model and monitor the overall process using Comet.ml, rather than needing to keep an open session to monitor any changes.
I’m reiterating the process I went through below for anyone else who wants to try.
Setup my environment
I started with setting up my remote environment and getting the code I would be using for the RetinaNet training process. I used a dataset of logos from various companies, very similar to something that can be found on Kaggle.
I had to install the RetinaNet library and various dependencies on my remote machine. Because my machine has a GPU, I installed the tensorflow-gpu version 1.4. I also updated the train.py script that RetinaNet uses to run and added the single line of code from Comet.ml to kick off the training process.
Side note: We make it really easy to connect your training process to your github repo. This way, once you figure out how to get the best training result, you can create a pull request that takes a snapshot of your code and hyperparameters.
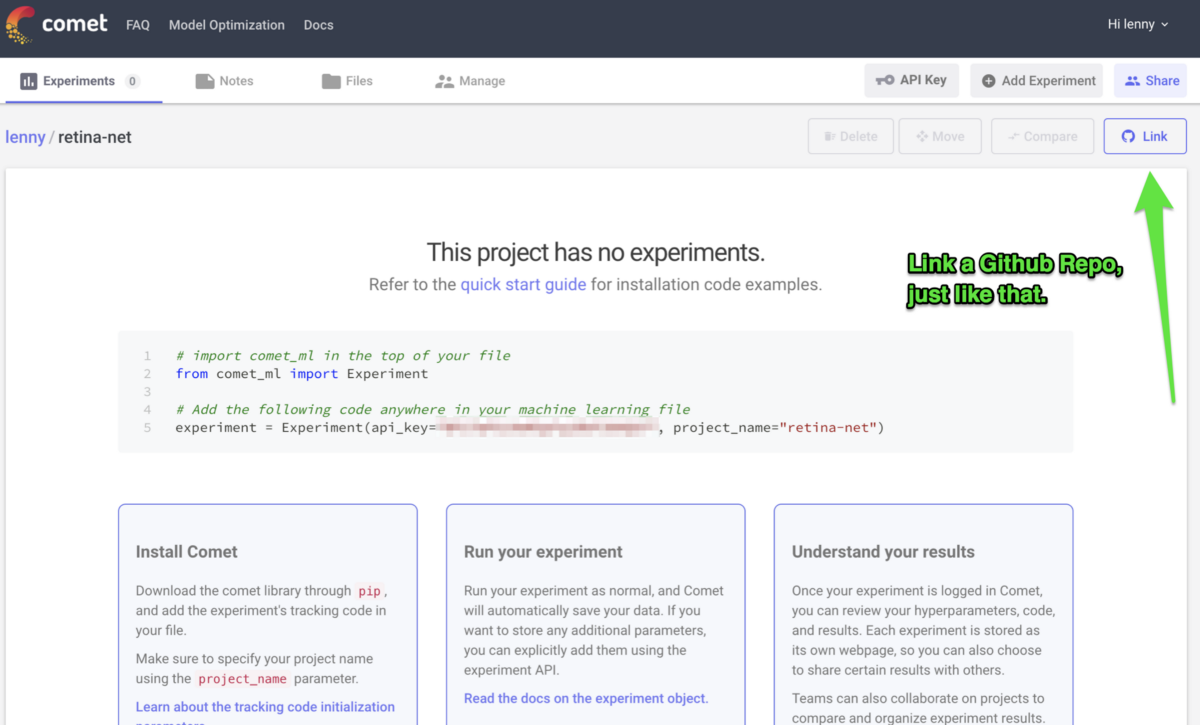
Install Comet.ml
All I had to do was copy the initialization script into the Keras RetinaNet train.py file and run the code. Thats it.

Track your experiment
Once Comet.ml is installed, the experiment code will pull all the hyper parameters you define during runtime. Whats also very cool is that depending if you have setup your Comet.ml project to be public or private, you will get a web URL to monitor the experiment training in real-time.
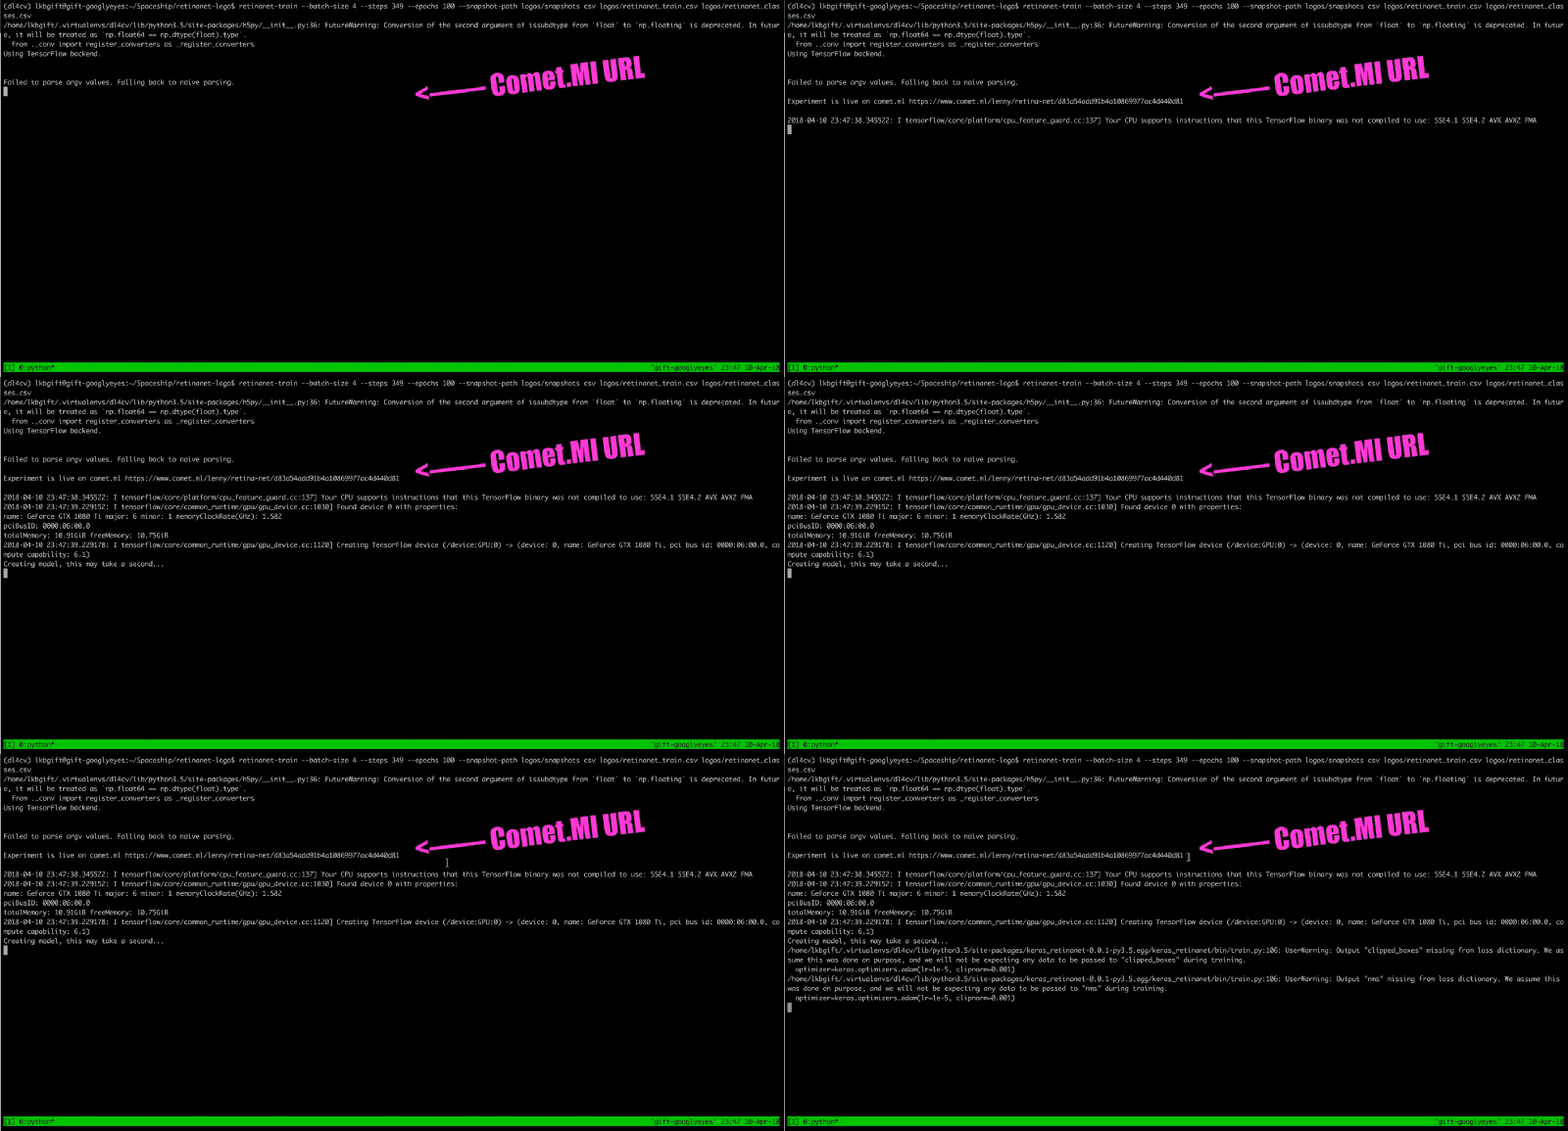
Monitor the experiment
In my case, the training process was estimated to take 10 hours, so I was able to detach from my active session and monitor Comet.ml. The dashboard for the experiment shows a live chart of the loss and accuracy metrics. It also provides a clear picture of the code and hyper parameters used to get the recorded result.
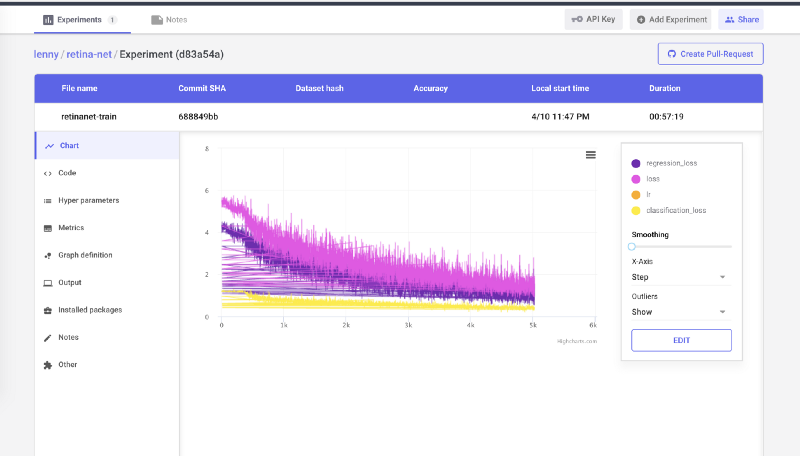
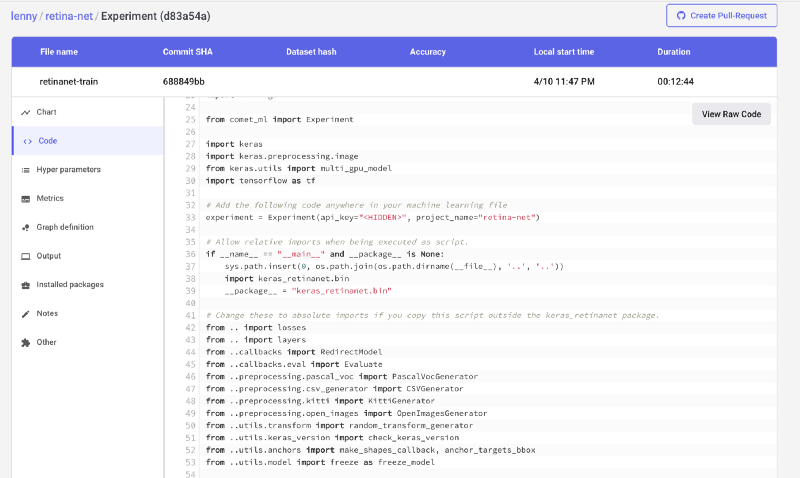
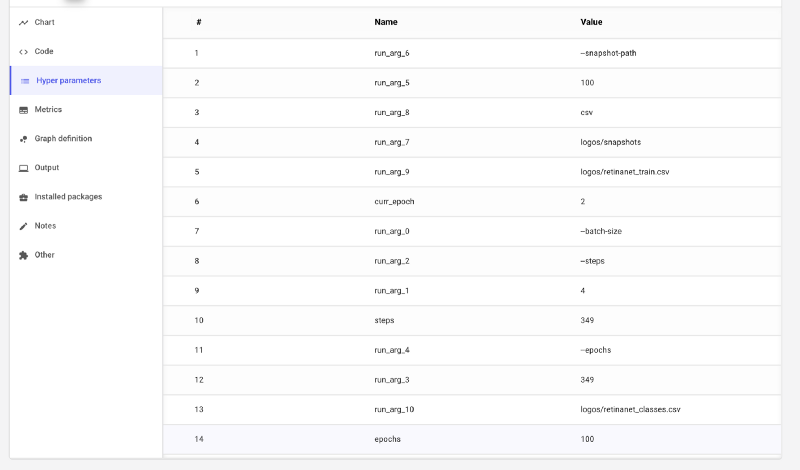
Finally, Comet.ml also logs the terminal output. This is really useful because you can actually just have the Comet.ml website open rather than needing an active SSH session to the server running your experiment. You also don’t have to worry about accidentally disconnecting and losing your progress.
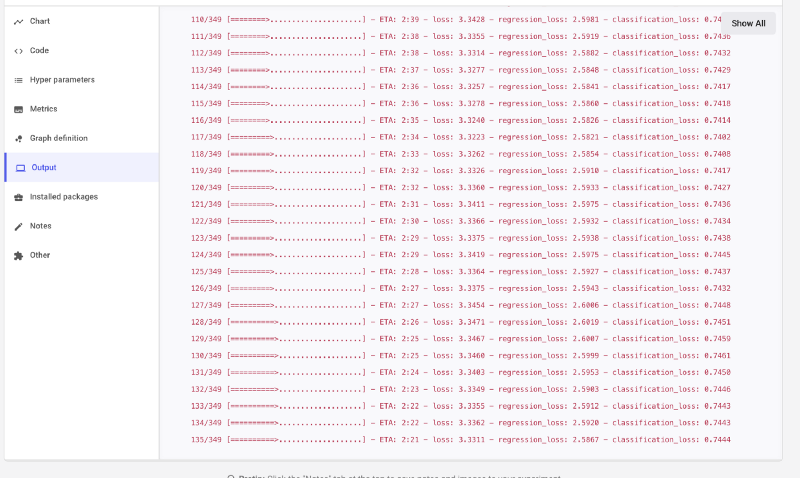
Thats it!
Is it useful?
If you struggle with managing your experiment history and reproducing results, you should definitely check out Comet.ml.
And let me know what you think!